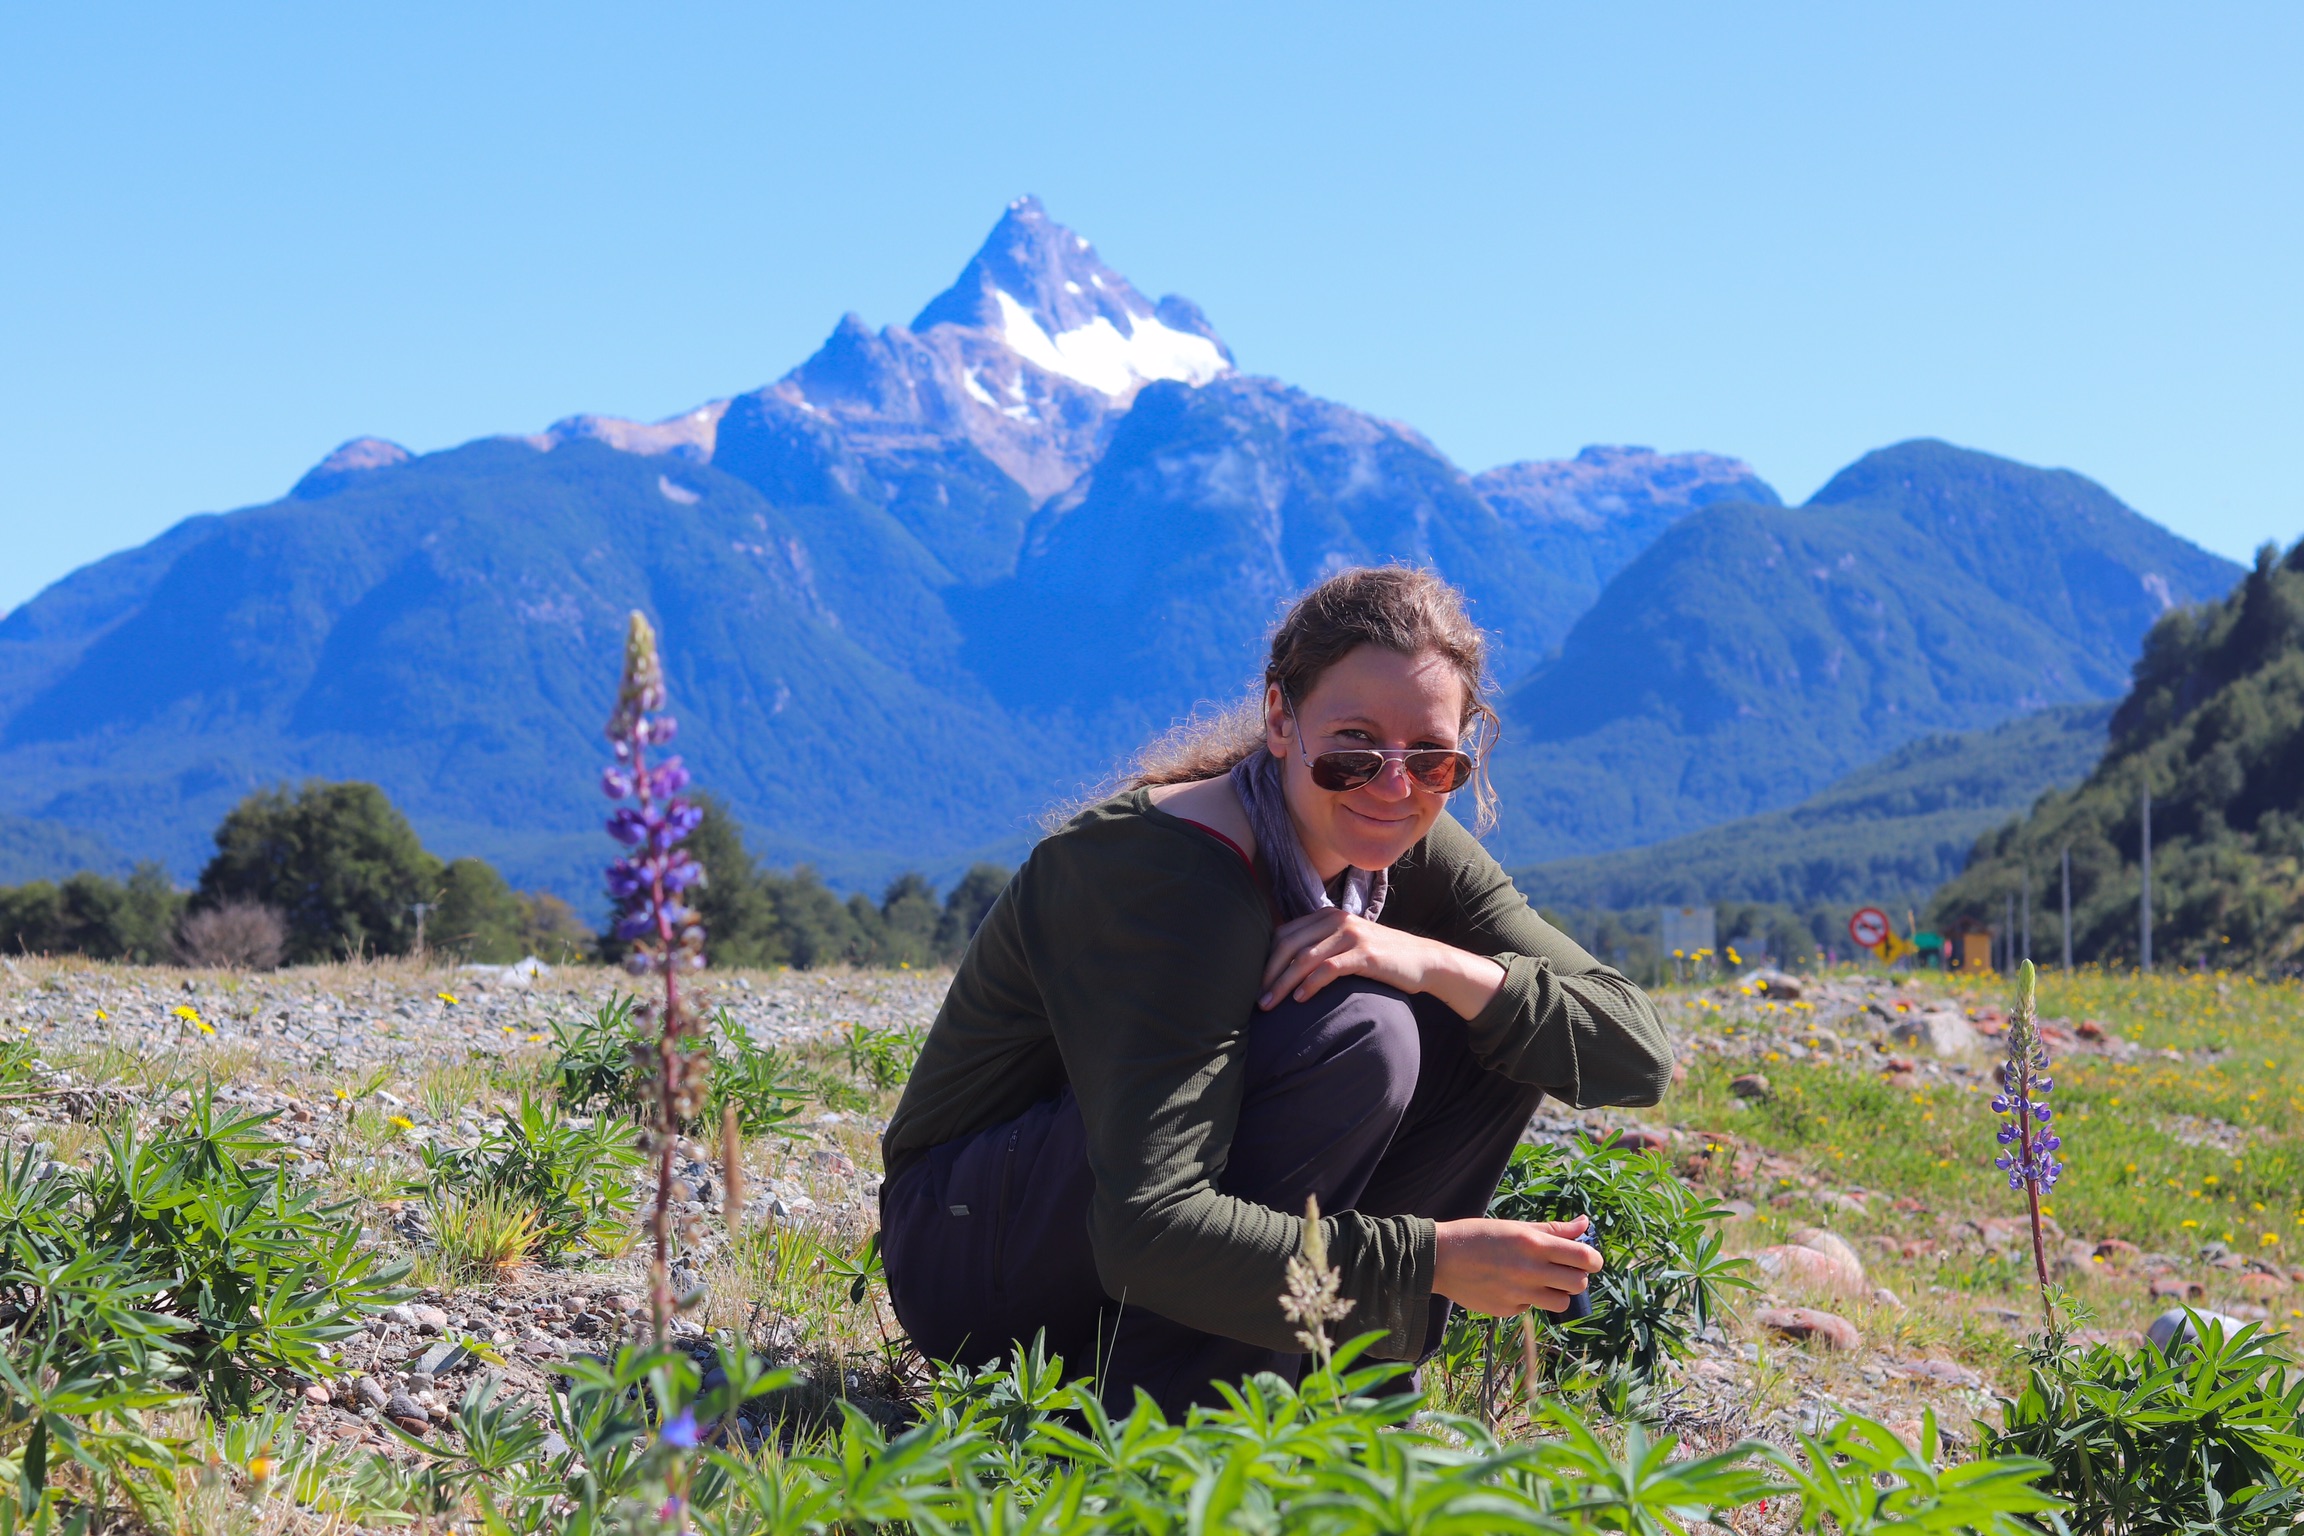
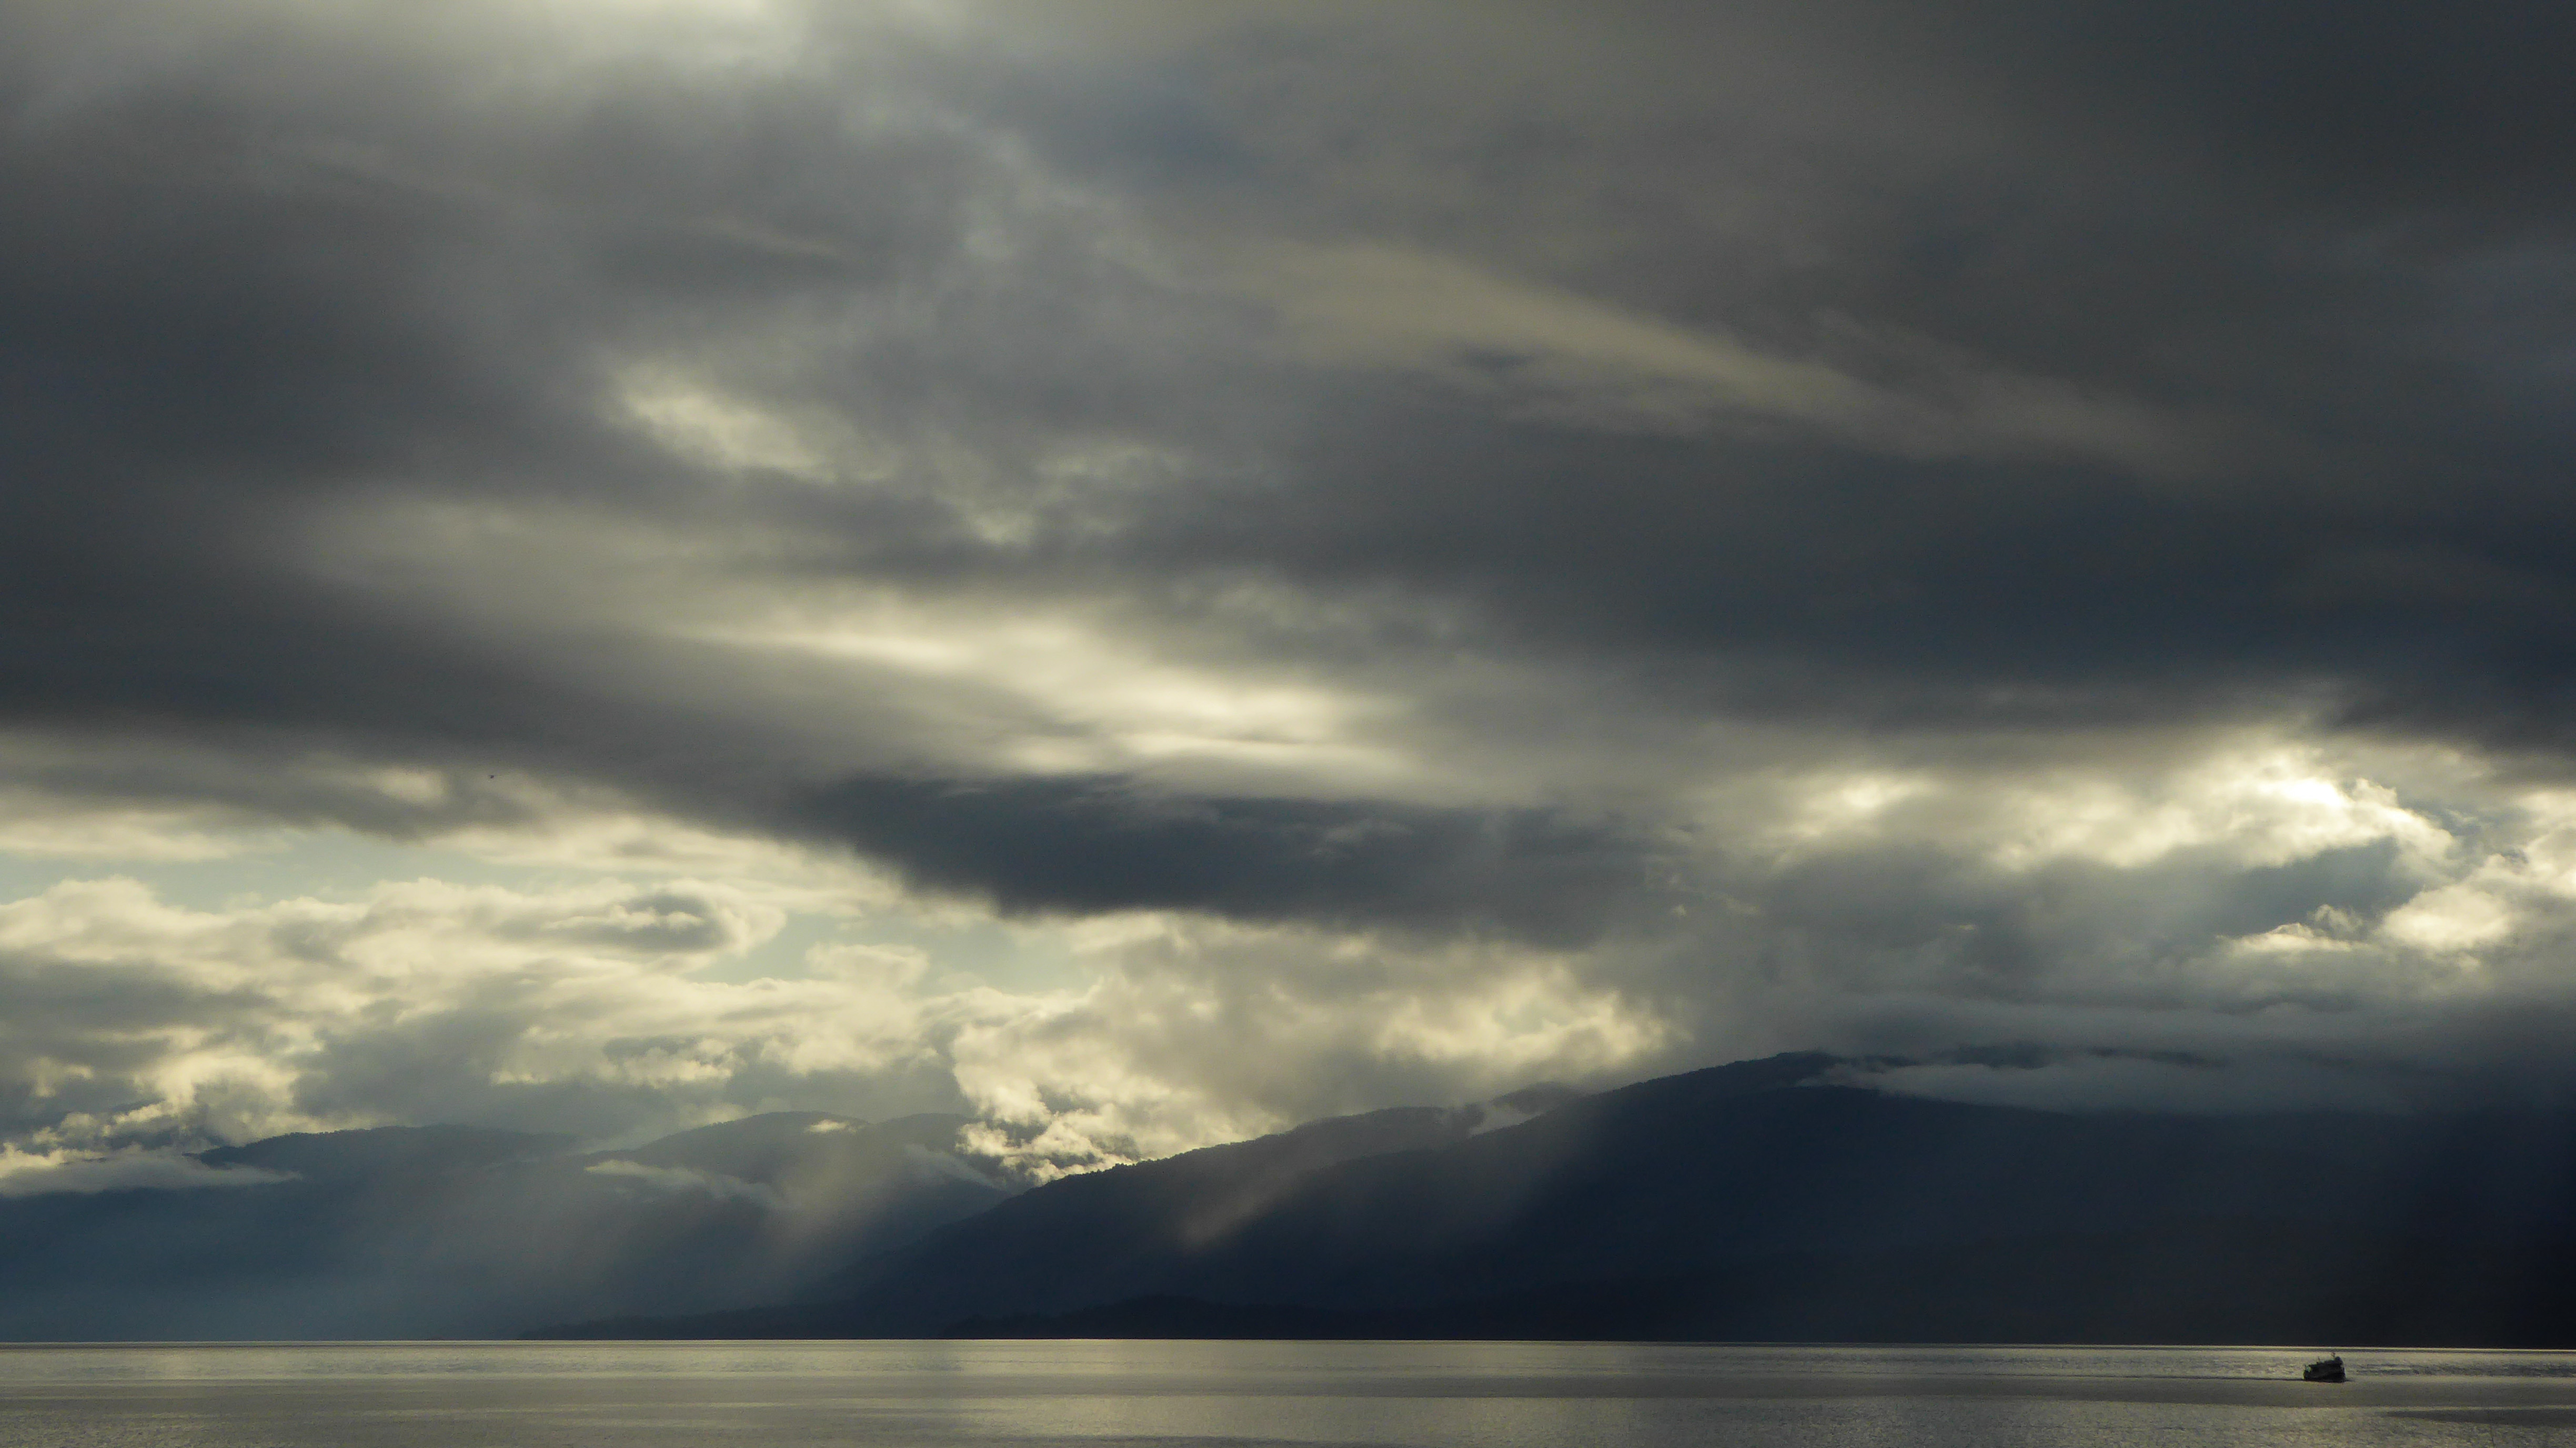
Möglicherweise sind die Informationen nicht mehr auf dem neusten Stand wegen der Krise, aber wir wollten trotzdem die ein oder andere Idee geben. Wir entschuldigen uns für Unannehmlichkeiten, wenn sich etwas geändert hat.
Puerto Montt hat eine Gepäckstation
Öffentliche Toiletten sind nicht kostenfrei. Oft stehen Frauen außerhalb und geben Toilettenpapier gegen Geld.
Geldtransfer via WesternUnion lohnt sich nicht in Chile. Im Gegensatz zu Argentinien hat Chile bei solch einem Transfer keinen guten Wechselkurs.
An einigen Scotiabankautomaten kann man ohne Gebühr (für den Automaten) Geld abheben.
Langstreckenbusse sind oft nicht per Kreditkarte im Internet bezahlbar, außer man hat eine Chilenische. Auf der Internetseite recorrido.cl kann man mit paypal bezahlen. Ansonsten einfach das Ticket am Bahnhof kaufen.
Achtung! Schaut euch die Zutaten auf den Verpackungen an, oftmals sind viele Zusatzstoffe zum Beispiel auch in Pasta drin, wie Aromen und Vitamine. Wenn ihre keine Nudeln ohne diesem Zeug findet, am besten frische Pasta aus dem Kühlregal kaufen.
Mit der dkb-Kreditkarte als aktives Mitglied ist die beste Variante zu bezahlen. Keine Gebühren und meistens viel besseren Wechselkurs als Bargeld zu tauschen.
Achtung! Wenn ihr mit dem Auto auf der Ruta 5 unterwegs seid müsst ihr mit viel Maut rechnen. (Santiago -> Chiloe and Puerto Montt -> Santiago = 65€ plus 10€ für elektronisches Zollgerät des Stadtgebietes von Santiago)
Die Fähre auf der Carretera Austral zwischen Puerto Yungay und Rio Bravo ist kostenfrei (und fährt dreimal am Tag).
Der Nationalpark Pumalin hat keine Eintrittsgebühr um zum Vulkan Chaitén zu wandern.
English:
Maybe these information are not up to date anymore because of the crisis, but we wanted to share it to give at least the one or other idea. We apologize if something has changed.
Puerto Montt bus station has a luggage storage.
Public toilets are not free. Often women stand in front of the public area and sell the toilet paper.
Sending money via WesternUnion is not worth it. In comparison to Argentina where you have a way better exchange rate it’s in Chile the opposite.
Some of the Scotiabanks have no bank fee.
Long distance busses are not payable by credit card if it’s not a Chilean one. On the website recorrido.cl you can pay with paypal. Otherwise you have to buy your ticket directly at the bus station.
Attention! Watch the ingredients of the pasta in the supermarket, often the mix stuff inside like flavors and vitamins! If you don’t find a brand without, an alternative is to buy fresh pasta.
Paying by credit card (in Germany is dkb without fee paying other currency as active member) has best exchange rate.
Attention! Ruta 5 is very expensive because of the immense amount of toll. (Santiago -> Chiloe and Puerto Montt -> Santiago = 65€ plus 10€ for electronic toll device city area Santiago)
The Carretera Austral ferry between Puerto Yungay and Rio Bravo is free of charge (3 times a day).
The trek to the volcano Chaitén in Pumalin National Park has no entrance fee.
Möglicherweise sind die Informationen nicht mehr auf dem neusten Stand wegen der Krise, aber wir wollten trotzdem die ein oder andere Idee geben. Wir entschuldigen uns für Unannehmlichkeiten, wenn sich etwas geändert hat.
Tipps Geld
Geldtransfer ist eine sehr gute Option um Bargeld mit dem besten Wechselkurs zu bekommen. (z.B. Azimo, WesternUnion)
An vielen Stellen (z.B. Hostel, Mietwagen) kann man zwischen 5 bis 15 % sparen, wenn man Bar bezahlt. Einige Plätze erheben eine Gebühr bei Zahlung mit Karte.
In El Chalten sollte man unbedingt mit Bargeld anreisen, denn oft funktionieren die Maschinen nicht. Außerdem gibt es auch hier teilweise 10% Rabatt bei Barzahlung.
Manchmal gibt es eine Mehrwertsteuer, z.B. bei booking.de, aber der Preis für Ausländer ist ohne diese Steuer. Nicht jedes Hotel/Hostel sagt das, aber fragen hilft.
Mit der Deutschen Kreditkarte der dkb gibt es keine Zahlungsgebühren bei ausländischer Währung solange man aktives Mitglied ist.
Seid nicht überrascht, wenn ihr mit Visa in einem Geschäft bezahlt und ihr nach eurem Namen und/oder Passnummer gefragt werdet. Anscheinend gilt das auch für die Leute von hier.
Patagonien ist sehr teuer, viele Aktivitäten werden empfohlen im Voraus zu reservieren bei einer Reise im Sommer.
English:
Maybe these information are not up to date anymore because of the crisis, but we wanted to share it to give at least the one or other idea. We apologize if something has changed.
Tips money
Money transfer is a nice option to get cash and offers the best exchange rate. (E.g. Azimo, western union).
A good way saving money is to pay in cash, you get discount between 5 to 15% (e.g. renting car, hostel). Some places will charge you a fee paying by card.
El Chalten CASH. Often the machine is not working or wifi is unstable. On top of that you often have 10% reduction paying cash.
Sometimes there is tax or better VAT written (IVA not included), e.g. on booking.com. The price for strangers is without that tax! Unfortunately not every hotel/hostel is telling you this, so better ask.
Don’t be surprised if you pay by visa, they will ask you to sign and to right down your passport number. Apparently it’s also for the people here.
Patagonia is pretty expensive, if you travel in summer time it’s also better to book in advance.
Tipps Essen
In manchen Städten findet man nicht oft uns bekanntes Campingessen wie Couscous oder Trockenfrüchte im Supermarkt . Dafür gibt es hier kleine Läden namens „Dietica“ und es ist nichtmal zu teuer.
Empanadas ist gutes preiswertes Essen.
Wenn ihr in Buenos Aires seid verpasst nicht Trockenfrüchte zu essen, sie sind hier wirklich preiswert und sehr lecker.
In El Chalten ist das Restaurant „El Parador“ sehr empfehlenswert.
Tips Food
In some cities you don’t find trekking food like couscous or dry fruits in the supermarket, therefore they have shops called “dietica” and it’s not that much more expensive.
Cheap food empanadas
When you’re in BA don’t miss out the dry fruits, cheap and so good.
El Chalten good restaurant El Parador
Buenos Aires soho del calden, ice cream Valence
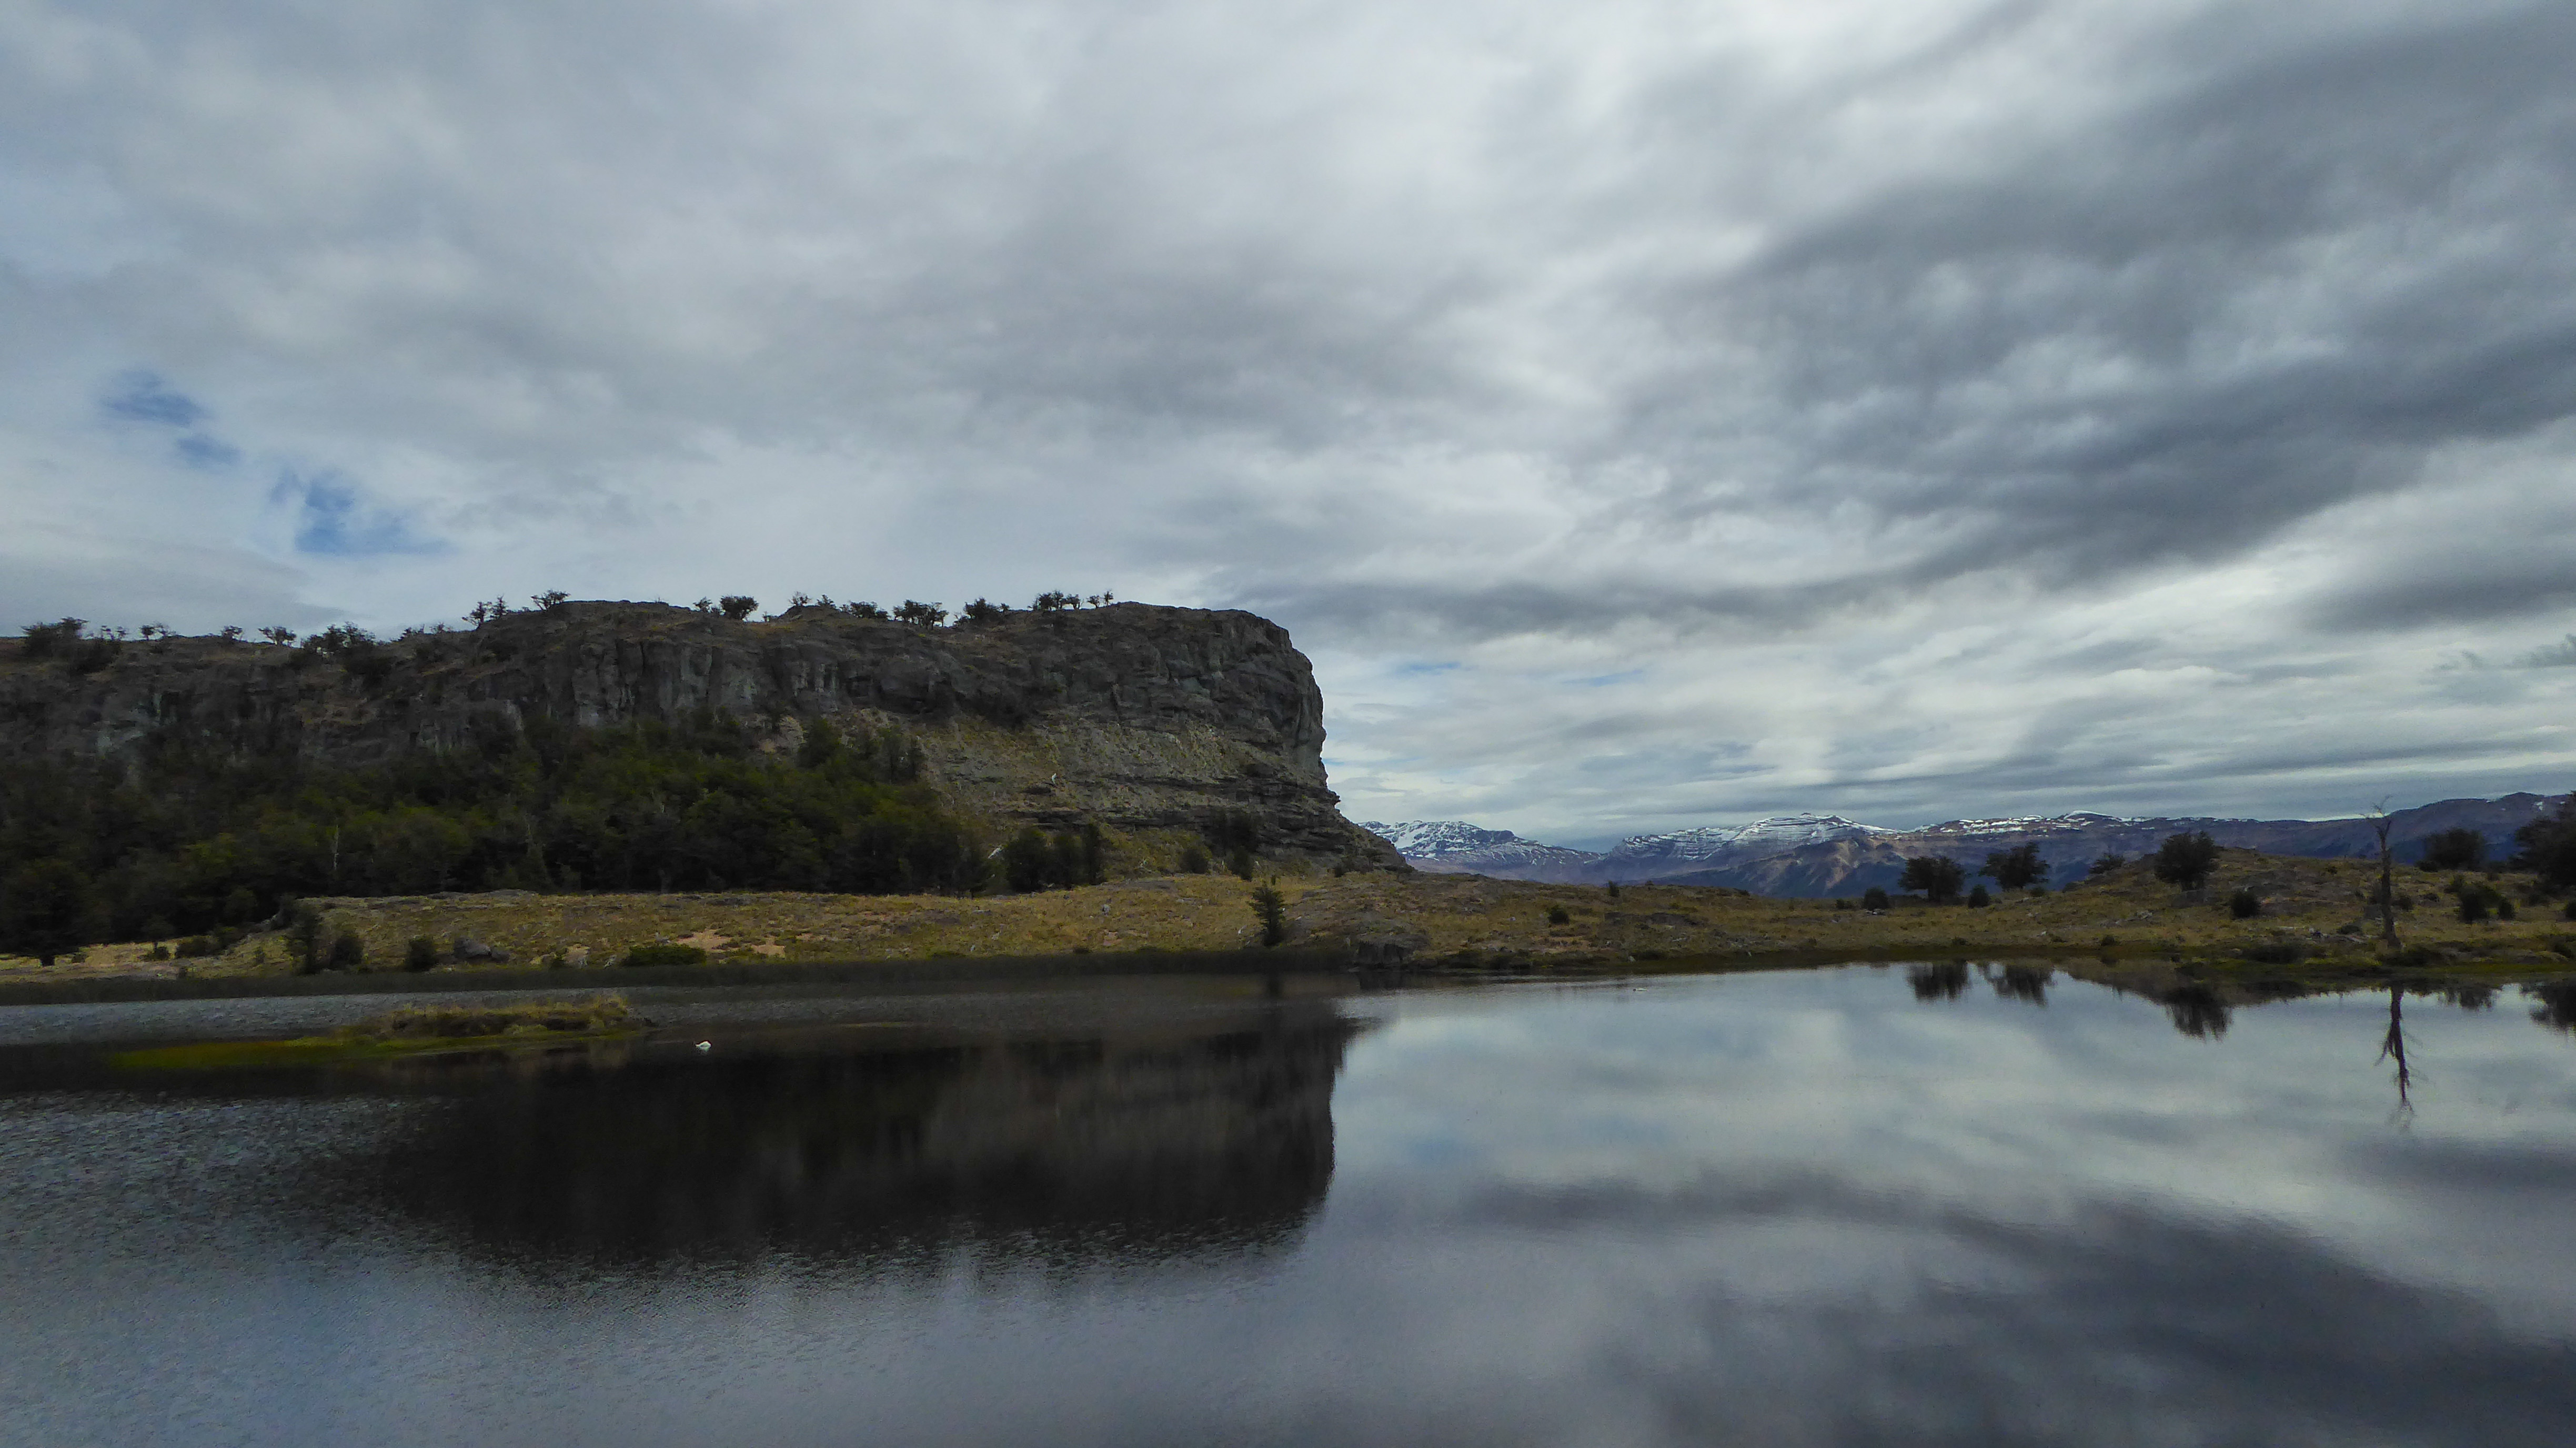
Tipps Reise
Wenn ihr in Ushuaïa seid, verpasst es nicht euch in der Haupt-Touristeninfo und im Besucherzentrum vom Nationalpark Feuerland einen freien Stempel in euren Reisepass geben zu lassen.
Bedenkt, dass der Eintritt im Nationalpark Feuerland nur 3 Tage/2 Nächte umfast. Ihr könnt für längeren Aufenthalt ein Kombiniertes Ticket für die doppelte Zeit bekommen und zahlt für die andere Hälfte nur den halben Preis.
Wenn ihr mit einem Langstreckenbus unterwegs seid werdet ihr feststellen, dass es Angestellte gibt die nur für das Gepäck zuständig sind. Wir sind nicht sicher, ob sie einen Basislohn erhalten. Manche fragen direkt, andere sind einfach glücklich wenn ihr ein paar Pesos gebt. Es muss nicht viel sein, aber es ist eine Geste. (Wir gaben um die 20 ARS).
Nachtbusse ersparen die Kosten für eine Nacht im Hotel.
Für den Fall der Fälle druckt eure Bustickets besser aus. Ihr bekommt sie in der Busstation mit eurem Pass.
Wenn ihr die den Busanbieter „marga tagsa“ umgehen könnt, macht es. Der Höhepunkt war eine Scheibe direkt hinter uns, die vom Wind einfach rausgerissen wurde. Zwei Stunden warten für einen Ersatzbus, aber es bleibt irgendwo trotzdem ein Erlebnis.
Eine sehr gute Seite um Bustickets zu kaufen ist „plataforma10“. Andere Anbieter haben nicht immer die Option, dass man die Passnummer eingeben kann, was dazu führt, dass man nicht zahlen kann.
Die SUBE- Karte für die Metro und Bus in Buenos Aires ist auch in anderen Städten Argentiniens zu benutzen, wie z.B. Ushuaïa, Bariloche.
An öffentlichen Toiletten, z.B. am Busbahnhof sind Frauen im Eingangsbereich um Toilettenpapier zu verkaufen. Die Benutzung der Toiletten ist jedoch kostenfrei.
Wir empfehlen für mehr Sicherheit einen Wasserfilter mitzunehemn (Wir haben einen Sawyer mini.)
Wenn ihr das Budget und die Geduld habt Argentinien mit dem Auto zu bereisen, ist eine gute Idee. Alles ist sehr weit, nicht sehr einfach zu erreichen mit öffentlichen Verkehrsmitteln und man kann einfach überall wild campen. Ein Auto in Argentinien zu kaufen ist ziemlich kompliziert, es sei denn ihr kennt jemanden. Außerdem könntet ihr damit nur innerhalb Argentiniens reisen. Manche empfehlen ein Auto in den Vereinigten Staaten zu kaufen und Richtung Süden zu fahren, aber das hängt von euren Reiseplänen ab. Andere verschiffen ihr Auto aus Europa, was allerdings paar Steine kostet, aber vielleicht lohnenswert für eine lange Reise.
Wenn ihr an der Ostküste entlang kommt sind Escondida oder Punta Lomo in der Region von Trelew und Puerto Madryn sehr zu empfehlen.
Mit dem Bus von Ushuaïa nach Rio Gallegos: Der Grenzübergang ist etwas kompliziert und langwierig, selbst wenn der Bus nicht in Chile anhält, muss man dreimal den Zoll zum An-und Abmelden durchmachen. Man darf keine Früchte, Käse oder andere frischen Sachen mitnhemen, Stochprobenartig wird vom Zoll das Gepäck kontrolliert und weggeschmissen, was nicht sein darf. Plant also etwas mehr Zeit ein als angegeben. Druckt euer Ticket, selbst wenn drauf steht „e-Ticket“ (online Ticket). Es ist manchmal notwendig zum Zeigen. Wenn man online gebucht hat, kann man sich das Ticket einfach im abahnhof ausdrucken lassen, dort gibt es eine Liste der Passagiere.
In El Chalten ist die beste Wanderung der Vuelta Huemul, aber die Ranger sind schlecht.
In Bariloche gibt es einen Gepäckraum.
Tips travel
If you are in Ushuaia don’t miss the free stamps for your travel memories in your passport. You can ask one in the main tourist information and the other in the visitor center of the NP Terra del Fuego.
Keep in mind that the entrance fee for NP Terra del Fuego covers only 3 days/ 2 nights. You can by a combo for double time, which is plus half time the price.
When you travel by long distance bus, there are people just for the luggage. I’m not sure if they are paid. Some ask you directly for tips, others are just very happy if you give something. It doesn’t have to be much, but it’s a gesture. (We gave around 20 ARS)
Night bus saves one night to pay.
In case, just print your bus ticket. (You get it in the bus station with your passport.)
If you can avoid the bus company “marga taqsa”, do it. The highlight was that just behind us a window was ripped out by the wind during the ride. Two hours waiting for another bus followed, but it’s an adventure though.
A helpful website to buy bus tickets is plataforma10. With other companies you may have trouble to find the option to put your “pasaporte” which leads to the dilemma that you cannot pay.
SUBE card for BA metro/ bus and in some other cities in Argentina, like e.g. Ushuaia, Bariloche.
In public toilets, e.g. at the bus station there are women in the entrance to sell toilet paper. To go to toilet is free though.
It’s very practical and safe to carry a water filter with you. (E.g. sawyer mini)
If you have the budget and patience to have a car for long Argentina travel is a good option. Everything is really far, not easy to access by bus and foot and you can just wild-camp everywhere. Buying a car in South America seems very difficult and you cannot cross boarders which is annoying. Some people suggest to buy a car in the States and make a road trip southwards, this depends on your travel plan. Others buy their car in Europe and ship over by boat (container) which is expensive, but maybe worth it seen for a long trip.
If you pass the east coast a nice place for wildcamping is Escondida or Punta Lomo in the area of Trelew and Puerto Madryn.
Bus from Ushuaia to Rio Gallegos: boarder crossing difficult, even even the bus doesn’t stop in Chile, you pass the boarder as usual. You cannot take fruits, cheese or stuff like that. There is a scan control and they will throw it. Also plan some more time because the time at the boarder stops (three times) can take a long time. PRINT your ticket, even if the email says e-ticket. Apparently it’s sometimes necessary to show at the boarder. If you buyed online, you can just ask at the bus station to print it for you, they have a list.
El Chalten best hike Vuelta Huemul, but APN (rangers) rude and not helpful.
Bariloche has at the bus station a luggage storage
Allgemeine Tipps
Wichtige Dokumente sollte man evt. als Kopie in einer Cloud oder sich selbst per Email sichern.
Macht Bilder von eurem Gepäck vor der Reise/vor dem Flug für Verwicherungsangelegenheiten. Macht ein Bild von den Flugtickets und von Stempeln im Pass im Falle des Verlustes diesen.
General tips
Saving important documents in a cloud like dropbox or send yourself via email.
Make pictures of your luggage before flight for insurance issues.
Thru-hiking is a perfect sport for anyone who dream about adventure and travel. If you wish to become the new Mike Horn, Tim Cope, Nicolas Vanier or Jack London, it’s an ideal tool. Even with a tight budget you will be able to experiment real adventurer situations and problems and if you are like us an EU citizen you have an easy access to a huge play field. Thru-hiking is probably one of the most accessible way of traveling. To start you really don’t need that much except maybe a lot of time. Here are some tips to help you start.
Essential materials:
A good pair of hiking boots (Meindl is a very good brand).
A good backpack (Deuter or Osprey are two go-to brands).
A pair of walking sticks.
A sleeping bag.
Of course you will have to have some little material, water bottle, flashlight, poncho, tent… Here you can find the complete gears list that we used for our UP project (1721 km by foot trough the Baltic’s States).
A tent can be seen by some people as essential material, but don’t forget you have to keep your material to the minimum (ideally carry not more than 10% of your bodyweight). Everything depends on what type of project, which area you want to explore. I crossed south of France and Italy (2500km) with no tent and it was ok. For example you can find lot of natural shelters. With practice you will be able to replace material by your skills.
Choosing your first path:
The first thing to determine is the time you can invest in your hike. To really start to taste all the amazing flavour of thru-hike, fifteen day seems to be a good start but if you have six month it’s even better. Choose to start a well known path like Santiago’s way or a famous long hike of your country. It will help you a lot to stay safe and to not get lost. You will be able to study the path before departure and to know what to expect in terms of terrains and weather. Choose a path that attract you, a place you want to see, or a city you dream about as ending point, it will help you keep going on during the difficult day.
What to expect?
The first week will be hard, very hard. Walking with a heavy bag several days in a row will make you suffer, especially if you have a lack of physical training. Muscle pains, blisters, maybe headaches, lots of minor aches will occur during this first week. Your body will have to adapt to a nomad lifestyle and to minimal comfort. But quickly you will also feel all the benefits. A surge in energy, less stress and sometimes deep peace of mind, witnessing the subtle changes of natures beauty and a greater connection to our environment. Honestly, if you are the depressive type, or a very anxious person, thru-hike will make you feel better.
Tips for your first hike:
Walk slowly. 15 to 20km a day is enough.
Take regular breaks. A small break of 5 or 10 minutes every hour and a long break for your lunch.
Take a nap after lunch.
Do stretching every morning and evening. If you can, make also muscular reinforcement especially for the upper body.
Eat a lot of fresh fruits and vegetables if possible. Dry fruits and nuts are also an excellent source of essential nutrients.
Drink a lot.
Budget:
Here you can find one of our previous article about budget.
Thru-hike can be super cheap if you have little needs. Sleep outside, eat mostly untransformed food and few, you can really live with around 5 euro a day in most of European countries.
Getting started:
Stop fantasize about travel and adventure. Just take a good pair of hiking boots and go outside. Walk your way to your own adventure. The first step is hard, after everything is amazing.
♦ In the next article we will speak about bivouac.
Vincent first solo thru-hike (Maubeuge-Tangier 3200Km) costed ≈5 000euros (materials included) for 6 months.
Deutsch:
Thru-Hike ist ein idealer Sport für alle die von Abenteuerreisen träumen. Es ist ein perfektes Konzept wenn ihr ein neuer Mike Horn, Tim Cope, Nicolas Vanier, Reinhold Messner oder Jack London werden wollt. Auch mit einem sehr geringen Budget werdet ihr in der Lage sein Abenteuersituationen und Probleme zu meistern und wenn ihr wie wir EU-Bürger seid, habt ihr ein umfangreiches Spielfeld. Thru-Hiken ist möglicherweise eines der best erreichbaren Wege des Reisens. Zum Starten braucht man nur wenige Dinge und eine gewisse Menge Zeit. Hier sind ein paar Tipps für den Anfang.
Notwendige Materialien:
Ein gutes Paar Wanderschuhe (Meindl ist eine sehr gute Marke)
Ein guter Rucksack (Deuter oder Osprey sind zwei gute Marken)
Ein Paar Wanderstöcke.
Ein Schlafsack.
Natürlich werdet ihr kleine Materialien haben, Wasserflasche, Stirnlampe, Poncho, Zelt… Hier könnt ihr eine komplette Liste finden mit unserer ganzen Ausrüstung unseres UP Projektes (1721km zu Fuß durch die Baltischen Staaten).
Ein Zelt kann für manche Leute essentiell erscheinen, aber vergesst nicht, dass ihr eure Ausrüstung auf das Wenigste beschränken müsst (idealerweise tragt ihr nicht mehr als 10% eures Körpergewichts). Alles hängt von der Art eures Projekts ab, welche Gegend ihr erkunden möchtet. Ich habe Südfrankreich und Italien durchquert (2500km) ohne Zelt und es war ok. Zum Beispiel kann man viele natürliche Unterschlüpfe finden. Mit etwas Übung werdet ihr in der Lage sein jegliches Material durch Fähigkeiten zu ersetzen.
Die Wahl des ersten Weges:
Die erste eingrenzende Entscheidung ist die vorhandene Zeit für die Wanderung. Um wirklich anzufangen den atemberaubenden Geschmack des Thru-Hikes kennenzulernen, erscheinen fünfzehn Tage als guter Beginn, aber wenn man sechs Monate hat ist es viel besser. Wähle anfangs einen gut erschlossenen Weg wie den Jakobsweg, der Kammweg, Eisenach-Budapest oder andere Wanderwege im Land. Das wird dabei helfen sich sicher zu fühlen und sich nicht zu verirren. Dann ist man auch in dem Vorteil, dass man sich bereits vorher mit dem Pfad auseinander setzen kann und genauere Informationen über das Gelände und Wetter hat. Man sollte auch eine Strecke wählen, die für einen selbst ansprechend ist, ein Ort den man gern sehen möchte, eine Stadt von der man als Ziel träumt, es wird helfen weiter zu gehen, vor allem während schwieriger Tage.
Was ist zu erwarten?
Die erste Woche wird schwer, sehr schwer. Mehrere Tage hintereinander mit schwerem Gepäck zu laufen ist sehr anstrengend, besonders ohne vorherigen Trainings. Muskelschmerzen, Blasen, eventuell Kopfschmerzen, viele kleine Schmerzen werden in dieser ersten Woche auftreten. Der Körper muss sich erst an das Nomadendasein bei minimalen Komfort anpassen. Aber schnell wird man profitieren. Eine Welle an Energie, weniger Stress und manchmal tiefgreifender Seelenfrieden, die seichten Änderungen der Natur wahrzunehmen und eine größere Verbindung mit der Umgebung zu verspüren. Ehrlich gesagt, wenn ihr von einem eher depressiven oder nervösen Schlag seid, Thru-Hike wird euch besser fühlen lassen.
Tipps für Thru-Hike
Geh langsam. 15-20km am Tag sind ausreichend.
Mach regelmäßig Pausen. Eine Kleine für 5-10 Minuten jede Stunde und eine lange Mittagspause.
Mach ein Schläfchen nach dem Mittagessen.
Mache jeden Morgen und Abend Dehnung. Wenn man kann, sollte man auch etwas Krafttraining machen, besonders für den Oberkörper.
Esse wenn möglich viel frisches Obst und Gemüse. Trockenfrüchte und Nüsse sind ebenfalls eine ausgezeichnete Quellen essentieller Nährstoffe.
Trink viel.
Budget:
Hier findet ihr einen vorherigen Artikel über die Geldeinteilung.
Thru-Hike kann sehr billig sein, wenn man nur wenig Ansprüche hat. Draußen schlafen, fast nur unbearbeitetes Essen zu sich nehmen und davon wenig, damit kann man mit rund 5 Euro am Tag in den meisten Europäischen Ländern auskommen.
Einstieg:
Hör auf über Reisen und Abenteuer zu fantasieren. Nimm einfach ein gutes Paar Wanderschuhe und geh raus. Geh dein Weg zu deinem eigenen Abenteuer. Der erste Schritt ist schwer, danach ist alles großartig.
♦ Im nächsten Artikel werden wir über Biwak sprechen.
Laura solo trip with train through Scandinavia and hiking in Finland (~250km). Cost ~400€ for one month.
Français:
La randonnée longue distance (thru-hike pour les anglo-saxons) est une pratique idéale pour toute personne rêvant de voyage et d’aventure. Si vous souhaitez marcher sur les traces de Mike Horn, Tim Cope, Nicolas Vanier ou encore Jack London, c’est une discipline qui vous permettra pour un budget très modeste de vous confronter à de vrais problématiques et situations d’aventure; et si comme nous, vous êtes européen vous disposez en plus d’un gigantesque terrain de jeu.
La randonnée longue distance est sans doute la forme de voyage la plus immédiatement accessible. En effet le matériel minimum est très accessible en terme de prix. La ressource principal est le temps, qu’il vous faudra prendre. Voici un petit guide pour vous aider à vous lancer.
Matériel essentiel :
Chaussures de randonnée de qualités (Meindl est une excellente marque).
Un Sac à dos ( Deuter et Osprey sont deux marques de qualité).
Des bâtons de marche.
Un sac de couchage.
À ça vous devez rajouter le menu matériel comme les gourdes, lampe de poche, poncho, tente etc… Ici vous trouverez la liste complète de l’équipement que nous avons emportés pour le projet UP (1721 km à pied dans les pays baltes)
La tente il est vrai pourrait faire partie des essentiels, comme le poncho et un grand nombre d’objets. Mais n’oubliez jamais qu’il est important de garder un sac léger ( dans l’idéal 10% de votre poids de corps ).
Choisir sa route, son premier trajet.
Ici la première chose à savoir est de combien de temps disposez vous? Pour commencer à goûter les saveurs de la pratique quinze jours me semble être un bon début. Mais si vous disposez de six mois c’est encore mieux.
Choisissez de préférence un parcours connus et balisé, surtout si vous êtes un débutant de la marche. Les chemins de Stevenson, le chemin des douaniers ou les chemins de Compostelle sont de bonnes options. Choisir un chemin connus vous permettra de prendre des renseignements en avance pour évaluer les besoins du parcours (équipements, condition physique…).
Choisissez de préférence un parcours qui vous attire ou un point d’arrivée qui vous fait rêver. Cela vous permettra de tenir dans les moments difficiles.
A quoi vous attendre ?
Disons le tout de suite, la première semaine sera très dur. La marche, le poids du sac, votre corps va souffrir et vous le faire savoir. Courbatures, douleurs, ampoules, maux de tête, de nombreux symptômes peuvent apparaîtrent. De plus la pertes de confort est au départ difficiles à vivre pour certains.
Mais assez vite les bienfaits se feront ressentir, grande énergie le matin, quiétude, sommeille lourd, beauté du monde, grande présence et connexion à l’environnement. Si vous êtes très anxieux ou dépressif la randonnée longue distance pourrait vraiment vous offrir une respiration salvatrice.
Quelques conseils pour mieux passer la première semaine:
Marchez lentement. 15 à 20km par jour sont largement suffisant.
Faites des pauses régulièrement. 5 à 10 minutes toutes les heures et un grand break à midi.
Faites la sieste après le repas. Entre 15 et 30 minutes.
Faites des étirements matin et soir et si possible du renforcement musculaire pour le tronc et le haut du corps.
Mangez des fruits et des légumes frais ainsi que des fruits secs et des noix pour couvrir les besoins en nutriments essentiels.
Hydratez vous régulièrement.
Le budget :
Nous avons déjà parlés de budget dans un article précédent que vous trouverez ici.
Sachez que la randonnée longue distance peux être très économique si vous vous contentez de peu. Dormir dehors est gratuit et une alimentation pauvre en produit transformés peux être peu coûteuse.
Se lancer:
Arrêter de parcourir envieusement les blogs de voyage, de vous réver en poète vagabond ou en héro des grands espaces et lancer vous. Bloquer deux semaines dans l’année, acheter une bonne paire de chaussures, un sacs et 300 euros et franchissez le pas de votre porte. C’est le premier pas qui coûte.
♦ Dans les articles suivants nous aborderons le bivouac
During our hike in Greece, the winter weather was making everything more painfull and difficult. So the cost went a bit higher than we thought. Hiking in spring and summer is often cheaper because it’s easier to sleep outside for a long stretch of time.
Everything start with a first step. Alles beginnt mit einem ersten Schritt. Tout commence par un premier pas.
Sleeping bags for woman sometimes have extra material in the feet area.
If you’re smaller or bigger than the average, ask the company to adjust the bag to your size. It’s not very expensive and help you to have maximum results.
Put them in a water proof bag while traveling.
A good night sleep is very important. It is your time of recovery and prevent you from stress, mistakes and illnesses.
The choice of the sleeping bag is not the easiest, but when you decide well, it will be a long living partner. We spent a lot of time with the question which one, and we both made the terrible experience with a cheap one. So here are some thoughts to prevent you from clattering teeth.
Sleeping bags are split in the category of down feather and synthetic material. Both have pros and cons, such as the down is better when go in cold areas, the synthetic is able to dry quickly.
Then you can choose between a full length zip and a half zip. The second one has because of that the advantage to don’t loose heat in the zip area, but you have the disadvantage that you cannot use is as a blanket like the long zip when it’s warmer.
For the long zip variation is often also the question of zip on the left or the right side – regarding how you are handed, in the end it doesn’t make that much difference, only for couples it can be interesting. You can choose to take one left zip and the other right zip to combine the bags to a big one (it’s not recommended for very cold areas because of heat loss).
Some sleeping bags have a thin rope or velcro to put the head part as close as possible to keep all heat inside.
There are some specials on the market, like with textile inside, but they are way heavier. We just recommend to use an inlet (e.g. silk or cotton) to protect your sleeping bag. You can just wash it and besides it adds some more degrees in your comfort zone.
In our experience are the numbers for orientation as comfort/critical temperature zone really already the limit, which means that when there is marked comfort zone until zero degree you will suffer a lot if it is only zero degrees outside.
We both have now down feather sleeping bags (Valandré and Cumulus) with the comfort zone until -10 degrees and we are very happy with them. (For comparison: in this case it is a very cozy sleeping bag at zero degrees.) Don’t be stingy in terms of temperature. It’s better to invest one time a bit more money to have a comfortable sleep than to buy another one because it was too cold. Sleeping is the recover time while traveling, it is the key to well being to have a good night sleep!
Especially when you know that you’re a person who is often freezing and loose body heat during the night because of low blood pressure or something like that you should invest in a more warm variation. On the other hand, don’t take a too warm bag, because the bigger it is, the more it will take space and weight more.
To clarify the myth of “never let your down sleeping bag get wet, it will be destroyed”, it’s simply not that terrible. You even can wash them carefully by hand. The problem is the packing if wet, because then the feathers can clump and hold the warmth not anymore. Always remember to dry your bag and important for all sleeping bags is to storage them unfold when you don’t use them. Like this the structure of air tubes stay secure and allow best cold protection.
Down
+ light + very warm – vulnerable to humidity
Synthetic
+ cheaper + resistant to humidity – lower warmth classes
If you like this article don’t hesitate to share it, comment and follow our blog, it’s a great way to support us. Everything start with a first step.
Deutsch:
Investiert lieber in eine höhere Komfortzone.
Lagert ihn ausgepackt.
Trocknet ihn immer, bevor ihr ihn wieder in die Hülle stopft.
Breitet ihn eine halbe Stunde vorm Schlafen aus.
Schlafsäcke für Frauen haben manchmal extra Fütterung im Fußbereich.
Wenn ihr kleiner oder größer als der Durchschnitt seid, fragt die Firma den Schlafsack für euch anzupassen. Es ist nicht teuer und hilft euch maximale Wärmewirkung zu erreichen.
Packt ihn in einen wasserdichten Beutel beim Transport.
Ein guter Schlaf ist äußerst wichtig. Es ist die Zeit der Regeneration und beugt Stress, Fehler und Krankheiten vor.
Die Wahl des Schlafsacks ist nicht die Einfachste, aber wenn man sich richtig entscheidet wird man einen langlebigen Reisepartner haben. Wir haben viel Zeit mit der Frage ‚welchen?‘ verbracht und wir beide hatten eisige Erlebnisse mit billigen Modellen. Also sind hier ein paar Gedanken und Ratschläge, um euch vor klappernden Zähnen zu bewahren.
Schlafsäcke werden im Großen und Ganzen in zwei Kategorien eingeteilt, die Daunenschlafsäcke und die Schlafsäcke aus synthetischen Material. Beide haben natürlich Vor- und Nachteile, beispielsweise ist Daune besser in kalten Gefilden und Synthetik ist weniger Feuchtigkeitsanfällig.
Weiterhin kann man wählen zwischen einem durchgängigen Reißverschluss und einem halben. Zweitere Variante hat nur im Oberkörperbereich den Verschluss und verliert dadurch weniger Wärme im Beinbereich. Aber im Gegensatz zur durchgängigen Variante kann man ihn nicht als Decke nutze wenn es warm ist.
Für das durchgängige System kann man auch wählen ob man den Verschluss auf der rechten oder linken Seite haben möchte, je nach Händigkeit. Am Ende macht es kaum einen Unterschied und ist nur eventuell interessant für Pärchen. Wenn man Schlafsäcke derselben Marke hat, kann man einen Rechtsverschluss mit einem Linksverschluss kombinieren für einen Großen Schlafsack (es wird jedoch nicht für sehr kalte Reiseziele empfohlen aufgrund erhöhten Wärmeverlustes).
Einige Schlafsäcke haben auch ein Band oder Klettverschluss am Kopfbereich um jegliche Kältebrücken zu verhindern.
Es gibt noch andere Besonderheiten, z.B. mit Textilfutter, aber meist sind diese viel schwerer. Wir empfehlen einfach ein Inlett zu nutzen (Seide oder Merinowolle). Man kann es waschen und nebenbei addiert es ein paar Grad mehr für die Komforttemperatur.
Nach unserer Erfahrung sind die Angaben der Komfort/Kritische Temperaturzone wirklich schon die Grenze, was bedeutet, dass wenn der Komfortbereich angegeben ist bis Null Grad Celsius wird man schon ordentlich frieren wenn es tatsächlich nur Null Grad Celsius draußen sind.
Wir beide haben nun Daunenfeder Schlafsäcke (Valandré und Cumulus) mit Komfortzone bis -10 Grad Celsius und sind sehr glücklich damit. (Zum Vergleich: mit diesen Schlafsäcken ist es bei Null Grad Celsius gemütlich warm.) Geizt nicht bei dem Temperaturbereich. Es ist besser einmal etwas mehr in etwas komfortableres zu investieren, als einen anderen Sack kaufen zu müssen weil es zu kalt war. Schlafen ist Erholungszeit beim Reisen, es ist der Schlüssel zum Wohlbefinden eine ordentliche Nacht zu verbringen. Speziell sollte man in eine wärmere Variante investieren, wenn man jemand ist, der oft friert und leicht Körpertemperatur verliert wenn der Kreislauf sich runterfährt. Andererseits sollte man auch nicht zu warm wählen, denn umso wärmer der Schlafsack, desto mehr Platz wird beansprucht und mehr Gewicht wird geschleppt.
Ein Wort zu dem Mythos „pass auf, dass dein Daunenschlafsack niemals nass wird sonst geht er kaputt“, es ist einfach gar nicht so schlimm. Man kann ihn sogar vorsichtig mit der Hand waschen. Das Problem liegt mehr am Zusammenknautschen, wenn er noch feucht ist, denn dann können die Federn klumpen und es ist mit Wärmeverlust zu rechnen. Denkt immer daran euren Schlafsack zu lüften und zu trocknen und lagert ihn offen, wenn ihr ihn nicht nutzt. Nur so bleiben die Kammern in der richtigen Struktur und erlauben besten Schutz gegen Kälte.
Daune
+ leicht + sehr warm – sensibel auf Feuchtigkeit
Synthetisch
+ günstiger + resistent bei Feuchtigkeit – niedrigere Wärmeklassen
Wenn Ihr den Artikel ansprechend findet, zögert nicht zu teilen, zu kommentieren and unserem Blog zu folgen, das ist eine gute Möglichkeit uns zu unterstützen. Alles beginnt mit einem ersten Schritt.
Français:
Acheter de préférence un sac haut de gamme.
Entreposer le déplié quand vous ne l’utilisez pas.
Séchez le bien avant de le replier.
Dépliez le 30 minute avant de dormir, pour lui permettre de « gonfler ».
Les sacs de couchage féminin ont parfois des couches d’isolant supplémentaire dans la zone des pieds.
Il est possible de demander au fabriquant d’ajuster le sac à votre taille si vous êtes très grand ou petit.
Protégez votre sac avec un sac waterproof quand vous êtes en randonnée.
Le sommeil est essentiel, un sac de couchage de qualité vous permettras de bien dormir et d’éviter les blessures.
Voilà une décision délicate, quel sac de couchage choisir? Mais quand on choisit bien, vous serez assuré de le garder longtemps. Laura et moi avons tout les deux, après des expérience douloureuse avec des sacs bas de gamme, choisit un sac de couchage haut de gamme en duvet (Cumulus et Valandré). Voici quelques conseils pour bien choisir votre sacs de couchage et éviter de souffrir durant les nuits froides.
Les sacs de couchage sont soit en matière synthétique soit en matière naturelles (duvet d’oies etc…). Les sacs en matière synthétique ont souvent un moins bon ratio poids/ température mais sont plus simple à entretenir et craignent moins l’humidité. Ceux en matière naturelles sont souvent plus chaud pour un poids moindre.
Ensuite vous avez le choix de prendre un sacs avec un zip sur toute la longueur ou un demi zip. Le demi zip protège mieux du froid. Le zip long peut être pratique en cas de nuit chaude pour l’aération et permet aussi d’ouvrir entièrement le sac qui peux alors servir de couverture. Le zip peut être placer sur la droite ou la gauche, en fonction de votre préférence. Si vous êtes en couple il est possible de prendre deux sacs du même modèle avec les fermeture éclair opposé pour les réunir en un seul sac, ce qui est déconseillé en zone très froide à cause de la perdition de chaleur.
En plus du sac de couchage il est préférable de prendre un sac à viande (en soie, en mérinos ou en synthétique) pour augmenter les capacité thermique du sac de couchage mais aussi le protéger.
D’après notre expérience la zone de confort indiqué sur les sacs peuvent en condition réel déjà être assez juste pour des personnes frileuse. Nous vous conseillons d’investir dans un très bon sacs descendant plus bas en température que celle que vous rencontrerez durant vos randonnées. Le sommeille est essentiel durant les randonnées longue distance. Si votre sac de couchage ne vous protège pas assez du froid vous ne pourrez pas récupérer et vous risquez la blessure.
Nos deux sacs de couchage sont des -10 degrés confort et c’est vraiment confortable. Pour moi qui suis très frileux, un sacs chaud est parfait.
Prenez bien soins de votre sacs de couchage en l’entreposant déplier et non dans sac de compression quand vous ne l’utilisez pas. Enfin n’oubliez de bien le laissez séchez quand il prend l’humidité pour qu’il conserve ses qualité thermique.
Duvet
+ léger + très chaud – sensible à l’humidité
Synthétique
+ moins chère + résistant à l’humidité – moins chaud
Si vous appréciez notre article, n’hésitez pas à le partager, à ajouter un commentaire et à nous suivre. C’est une manière simple et efficace de nous soutenir et n’oubliez pas, tout commence par un premier pas.
Canon EOS 200D/ EFS 24mm pancake/ EF 50mm STM
Panasonic DMC-TZ61
ipad mini4
Both of us definitely recommend to use hiking sticks out of several reasons. First of all they will help you to balance the weight on your back. The heavier the luggage, the more you will deform your spine without sticks to work against the weight which is not healthy on the long run. In term of balance you will be the gladest person to have them, if you have to pass a little stream or walk in difficult rocky area. Second point is that they will help you to check the ground if it’s not sure, e.g. mud, depth of water, moss or swamp area and in winter the resistance of ice and snow parts. Another helpful side effect is the usage for building a shelter or the defense against dog attacks. Vincent use them also for back stretching, you see there a many uses.
Some people take only one stick, but this is surely only a possibility if you almost have no luggage otherwise you stress your body with one sided loading. After a while you will have to deal with back tensions which are difficult to cure.
What kind of poles you use, well there as always a couple of options with very different budget. We both have leading brands (Komperdell and Leki)and invested a bit more money and we will tell you why. Both have a folding system, what is especially practical when you have to flight. Non folding sticks end up as bulky luggage and you probably have to pay more. There are also different screw systems for them, for some you need a tool, for more expensive ones it’s very easy handling with a little screw what you can fix just by hand. Furthermore there are hiking sticks with a damping which can be comfortable for the wrists going downhill.
Another very helpful add are tips (top end pieces) which you can buy in any hiking shop. They absorb shocks, secure your sticks and prevent annoying clicking noises on hard ground.
A last word about the material. The most common are aluminum and carbon. Carbon is more expensive, but very light. The problem is that when you overstretch them, they just break and the structure is not repairable with normal tools. Aluminum instead are more heavy, but when you overstretch them they deform, but at least they don’t burst. For the hand part is cork a good choice, which prevents blisters and is gentle on the grip. There are other materials, but even high developed structures leave a black layer on your skin when it’s wet.
In short:
Hiking sticks are essential equipment.
It takes a little while to get used to the usage of sticks, but they will improve comfort and security on long distance walks.
Buy preferably known brands.
Choose some with a folding system, because it’s much more practical.
If aluminum or carbon depends on your personal preference and budget.
Perfect to defend yourself against dogs.
Walking poles are indispensable. Really, take them.
If you like this article don’t hesitate to share it, comment and follow our blog, it’s a great way to support us. Everything start with a first step.
Deutsch:
Wir beide empfehlen definitiv Wanderstöcke zu nutzen aus vielerlei Hinsicht. Zu allererst helfen sie das Gewicht auf dem Rücken auszubalancieren. Umso schwerer das Gepäck ist, desto mehr wird sich die Wirbelsäule ohne den Ausgleich verbiegen und gegen das Gewicht arbeiten, was auf Dauer große Schäden auslösen kann. Man lernt die Hilfe fürs Gleichgewicht spätestens zu schätzen, wenn man einen Bach überqueren muss oder sich durch steiniges Gelände schlängelt. Zweitens können die Stöcke dabei behilflich sein uneinsehbaren Untergrund zu testen, bspw. wie tief das Wasser oder Schlamm ist, ob man eine gehbare Passage durch ein sumpfiges Gebiet findet oder auch im Winter das Prüfen der Festigkeit von Schnee und Eis. Weitere nützliche Nebeneffekte sind die Benutzung der Stöcke zum Bauen eines Unterschlupfes oder zur Abwehr von Hunde- Attacken. Vincent nutzt sie außerdem zur Rückendehnung, wie ihr seht gibt es viele Vorteile.
Manche Leute nehmen nur einen Stock, wovon wir jedoch dringend abraten. Wenn überhaupt ist es möglich, wenn man kein Gepäck hat, denn der Körper, vor allem der Rücken, wird einseitig belastet. Auf langer Strecke führt dies zu schmerzhaften Verspannungen, die nur mühevoll wieder gelöst werden können.
Welch Art von Stöcken man wählt hängt ein bisschen vom Budget ab. Wir beide haben führende Marken von Wanderstöcken (Komperdell und Leki), haben etwas mehr investiert und folgende Punkte erklären warum. Beide haben ein Faltsystem, d.h. man kann sie auf ein kleines Format zusammenschieben. Das ist besonders hilfreich, wenn man fliegen muss. Für nicht faltbare Wanderstöcke muss man oft mehr für Sperrgepäck bezahlen. Für die faltbaren Varianten gibt es wiederum auch verschiedene Befestigungssysteme. Manche brauchen ein kleines Werkzeug um die Spanne einzustellen, bessere Modelle haben eine kleine Schraube, die man einfach per Hand verstellen kann. Des Weiteren gibt es auch noch Stockmodelle mit einer Federung, was eine dämpfende Wirkung für die Handgelenke hat beim Abstieg.
Ein andere sinnvolle Ergänzung sind Wanderstockaufsätze, welche den Schock absorbieren, die Stockspitze von Abnutzung schützen und die nervigen Klackergeräusche verhindern. Zu finden sind sie normalerweise in jedem Outdoor Laden.
Ein letztes Wort zum Material. Die gängigen Varianten sind Aluminium oder Carbon. Carbon ist teurer, aber auch angenehm leicht. Das Problem ist, dass sie brechen können, wenn sie überstrapaziert werden. Durch ihre Struktur ist es leider nicht möglich sie eigenhändig zu reparieren. Aluminum hingegen sind schwerer, aber diese verbiegen sich gegebenenfalls nur, brechen aber nicht. Für das Handstück empfehlen wir Kork. Es gibt auch verschiedene andere Varianten, doch selbst ausgeklügelte Systeme haben ihre Eigenheiten, z.B. das Ablösen von Material bei Feuchtigkeit, was sich dann in den Händen verfestigt. Kork ist angenehm in der Hand und hemmt Blasenbildung.
Kurz:
Wanderstöcke sind essenzielle Ausrüstung.
Man braucht eine Weile um sich daran zu gewöhnen, aber sie werden auf langer Strecke Komfort und Sicherheit bieten.
Kauft am besten bekannte Marken.
Faltbare Stöcke sind äußerst praktisch.
Ob Aluminium oder Carbon hängt von der eigenen Vorliebe und dem Budget ab.
Perfekt zur Selbstverteidigung gegen Hunde.
Wanderstöcke sind unverzichtbar. Wirklich, nutzt sie.
Wenn Ihr den Artikel ansprechend findet, zögert nicht zu teilen, zu kommentieren and unserem Blog zu folgen, das ist eine gute Möglichkeit uns zu unterstützen. Alles beginnt mit einem ersten Schritt.
Français:
Nous vous recommandons tous les deux l’utilisation de bâtons de marche pour vos randonnées et ceux-ci pour de nombreuses raisons. Premièrement, ils vous permettront de balancer le poids de votre corps. Plus votre sac à dos sera lourd plus votre colonne vertébrale subira des “pressions” qui pourront, sur le long terme, l’endommager. C’est également, en cas de franchissement de terrain difficile, une grande aide qui vous évitera de nombreuses chutes. Deuxièmement les bâtons peuvent servir à sonder la profondeur des cours d’eau, des plaques de boue ou de neige. Ils peuvent aussi être très utiles pour construire un abris de fortune ou s’étirer le dos. C’est réellement une pièce d’équipement essentiel.
Certaines personnes n’utilise qu’un seul bâton ce qui est fortement déconseillé, surtout si vous portez un sac très lourd. En effet en utilisant qu’un seul bâton vous risquez de vous blesser à cause du déséquilibre induit.
Il existe de nombreuses marques de bâtons de marche, Laura et moi utilisions tous deux des marques reconnues pour leur grande qualité (Komperdell et Leki). Le prix à l’achat est rapidement amorti par le confort d’utilisation. Nous vous conseillons de prendre des bâtons pliables qui sont très pratiques et facile à ranger dans votre sac. Il existent différents systèmes de serrage, le meilleur étant à clips, celui à visse ayant tendance à se bloquer. Certains bâtons nécessitent des petits outils pour régler le serrage, mais un couteau feras l’affaire. Enfin il existent des bâtons munient d’amortisseurs qui, sur terrain difficile, peuvent être plus agréables et protéger vos poignets.
Il est possible d’acheter différents embouts en caoutchouc pour les bâtons. C’est vraiment pratique et cela vous assurera une meilleure longévité aux bâtons tout en diminuant le bruit et les chocs sur les surfaces artificielles comme l’asphalte.
Il y’a deux matériaux principaux pour les bâtons, l’aluminium ou le carbone. Le carbone est plus léger et plus chère. Souvent plus confortable à l’utilisation, il est aussi plus susceptible de se casser en cas de choc. L’aluminium est plus lourd mais moins chère et plus résistant. Il aura tendance à se tordre à la longue mais restera fonctionnel. Pour les poignées, le liège est sans doute le meilleur choix, offrant une bonne prise en mains mêmes avec des mains humides. Certains revêtements synthétiques très performants existent aussi mais le liège reste, à notre connaissance, l’idéal.
En résumé:
Les bâtons sont des outils essentiels.
Marcher avec des bâtons demande un petit temps d’adaptation mais augmente le confort et la sécurité sur les longues distances.
Acheter de préférence des marques spécialisées reconnues.
Les choisir pliables car plus pratiques.
En aluminium ou en carbone en fonction de vos préférence et de votre budget.
Idéal pour repousser les chiens.
Les bâtons sont indispensables. Non réellement, prenez des bâtons.
Si vous appréciez notre article, n’hésitez pas à le partager, à ajouter un commentaire et à nous suivre. C’est une manière simple et efficace de nous soutenir et n’oubliez pas, tout commence par un premier pas.
Canon EOS 200D/ EFS 24mm pancake/ EF 50mm STM
Panasonic DMC-TZ61
ipad mini4